


When I was three, I got it in my head that I was ready to have my ears pierced. Mum did her best to explain to me “that shit will hurt,” but I wasn’t having any of it.
I vividly remember asking over and over until she finally gave in and a family friend, who owned a piercing gun (why? Who just has one lying around? Although it was the early 90s) agreed to pierce me.
She got the first one done, and I howled. I ran around her beautiful home screaming and crying as though she’d sliced it off with a knife.
I think she ended up giving me a Fisherman’s Mint, and the peppery mint distracted me long enough for her to do the other side.
I left the starter studs in for an entire year because I was too scared to let mum change them.
Fast forward 27 years, and I finally decided it was time to get my second hole pierced. I’ve been wanting it for years now, but I’m a mad commitment-phobe and, to be honest, the first time scarred me and I didn’t want to be a screaming, crying, 30-year-old woman in the middle of a piercing salon.
But I digress.
There’s a couple of things you need to know before building up the courage to get pierced so that everything goes smoothly and you minimise infection or a rubbish job.
Where should I pierce?
According to~the internet~you can pretty much get any part of your body pierced, as long as there’s enough skin. For this article ’ll be focusing on ears, and there’s more parts to pierce than I realised.
There’s the standard lobe, upper lobe, tragus, anti-tragus, daith, inner conch, outer conch, rook, helix, forward helix and industrial.
Gun vs. Needle
NEEDLE! Sorry to shout, but I wish I’d taken this advice. I had my second and third lobe piercings done three months ago in a piercing shop, and for whatever reason, the piercer didn’t ask my preference and used a gun.
I’ve had nothing but trouble since. I’ve had three rounds of antibiotics to clear up infection, cleaned them religiously, tried the LITHA method (Leave It The Hell Alone), tried chamomile soaks, Sea Saltwater Soaks (SSS), piercing gel, bulk vitamin C…and they’re still struggling to heal.
I’m pretty sure it’s got a lot to do with the gun, and here’s why.
The gun forces a sharpened thick ear stud through your flesh using a spring action, causing a lot of blunt force trauma that makes healing difficult and infection risk high. They’re also impossible to correctly sterilise, which means someone else’s blood may still be present when you’re pierced. Great.
It’s also harder to aim, which means you may not get a straight piercing and you end up with jewellery that sits weirdly.
Cartilage piercings should always be made with a needle. If you’re getting high lobe piercings and they use a gun, they may accidentally hit cartilage (yes, hi, this happened to me and it really bloody hurt).
The hollow piercing needle, on the other hand, creates a very clean, precise hole, moving the flesh aside rather than forcing it through. A sharp wound is easier and quicker to heal, minimising trauma and lowering the chance of infection.
I wish I could go back (in time!) and get the needle. Don’t be like me. Speak up and ask for the needle!
What should I use for my piercing jewellery?
Your piercer will probably have a range of titanium jewellery to choose from, as it’s great for sensitive ears and less likely to irritate or create an allergic reaction. 14K and 18K nickel-free gold, platinum and medical grade stainless steel can also be used.
How can I prevent infection?
- Don’t touch it.
- If you need to touch it, wash your hands thoroughly.
- Don’t hold your phone against your new piercing. That thing is nasty and covered in germs.
- Change your pillow slip every few days.
- Clean it twice a day – don’t over clean or you may piss it off.
- Don’t spin or rotate the jewellery! This is like picking at a scab and can introduce bacteria from other parts of the jewellery into the piercing.
- Irrigate your piercing with saline solution once or twice daily. Rinse it in the shower.
- Leave it the hell alone.
Ouch! It’s infected!
Ah, I feel you. I’m so sorry. Here’s what to do:
- Make sure it’s actually infected, and not just angry. Your piercing will be a bit red, sore and maybe slightly swollen for a few days after. It may even produce some discharge. This is all normal.
- Go to your piercer. A good piercer should be able to tell the difference between an infection and an irritation.
- Don’t take the jewellery out. The piercing could close over and trap the infection inside, which is harder to treat.
- Your doctor will provide antibiotics. They work! Miraculously. And will probably mess up your gut biome, but that’s a problem for tomorrow. Heal your beautiful new piercings!
- Use a Sea Saltwater Soak (SSS) once or twice a day and make sure you’re cleaning out all of the pus with fresh cotton tips. Don’t use the same tip on each piercing or you’ll spread the germs.
If it’s oozing yellow or green pus, swollen, red, and just all kind of hell breaking loose, go to your doctor. If you have a fever, red streaking lines coming from the piercing or swollen lymph nodes, stop reading and go to your doctor/emergency asap!
How to make a Sea Saltwater Soak (SSS)
Mix ¼ teaspoon of non-iodised sea salt into 240mL of hot water and let it dissolve. Fill a glass shot glass with the mixture and submerge your entire piercing for 5-10 minutes once or twice a day. This will clean away any gunk, hydrate your cells and prevent dead cells from becoming trapped and causing piercing bumps or bubbles.
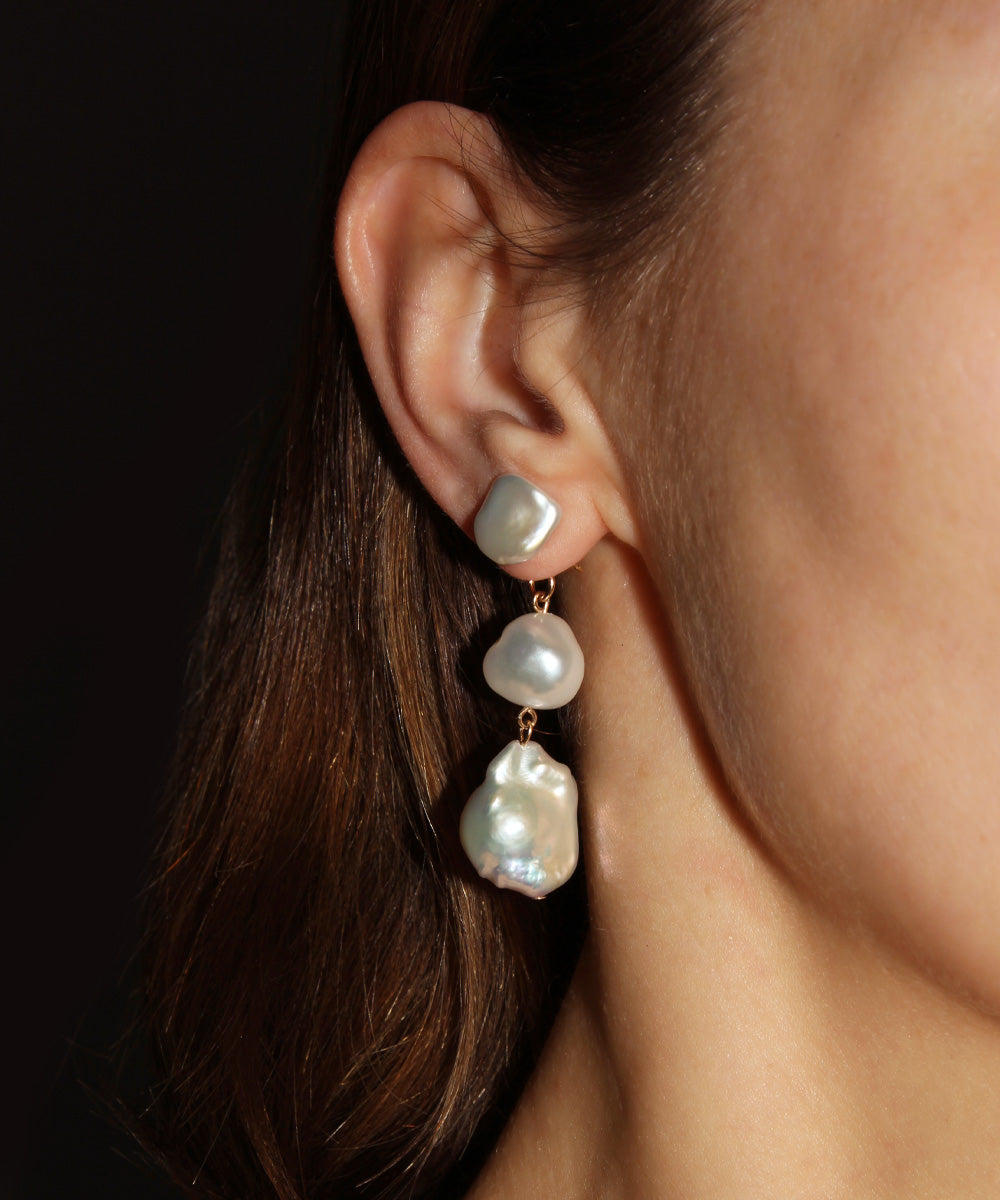
With time and good care, your piercings should be healed and ready for some cute bling. I can’t wait for mine to fully heal so I can start shaking things up with hoops and studs.
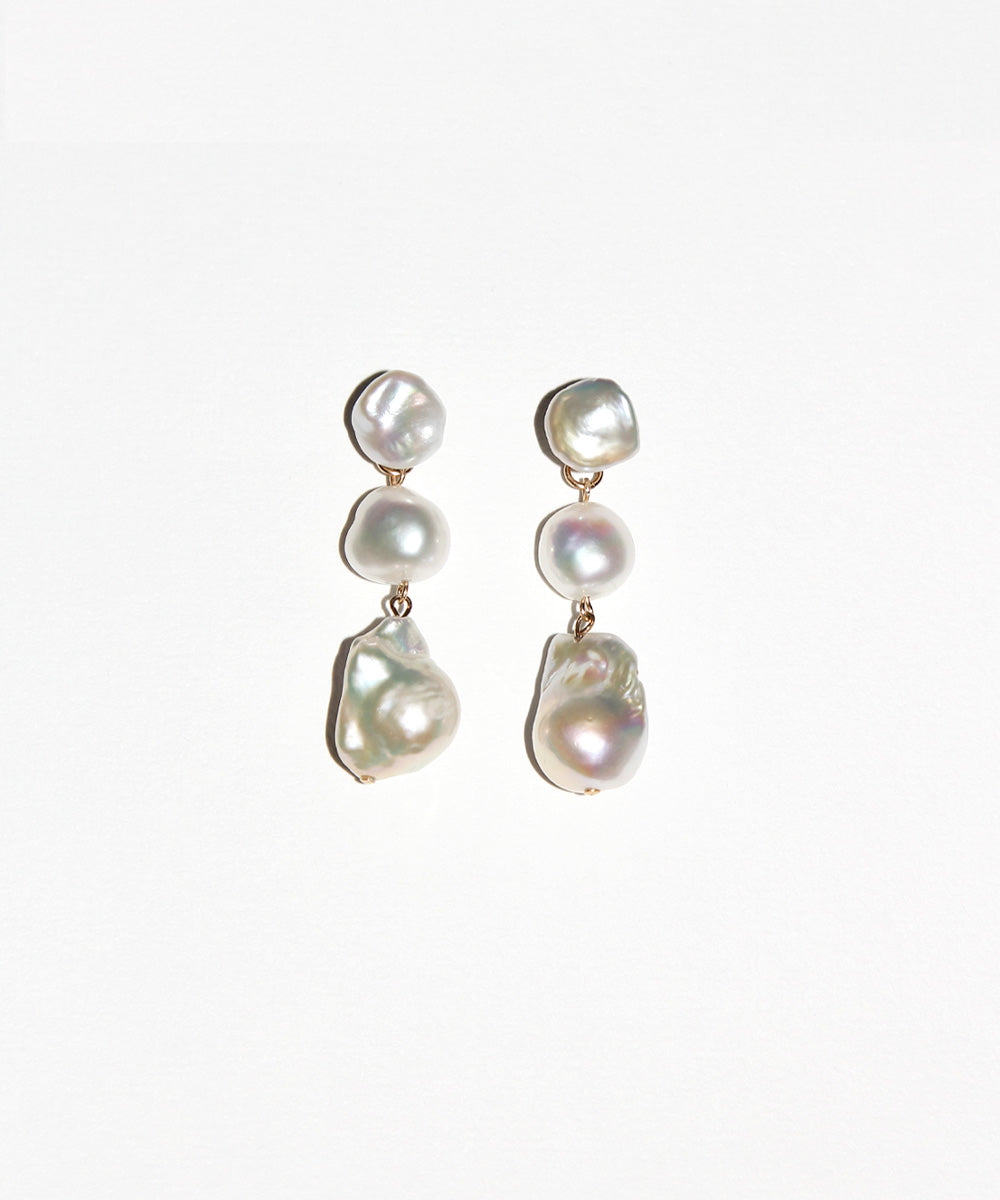
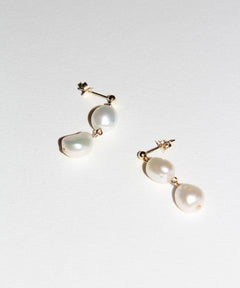
All healed? Shop for something cute to decorate your ears.